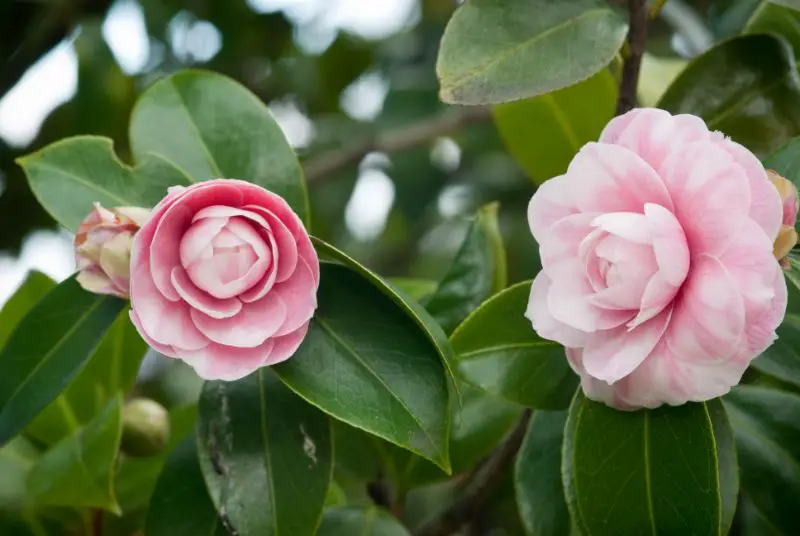
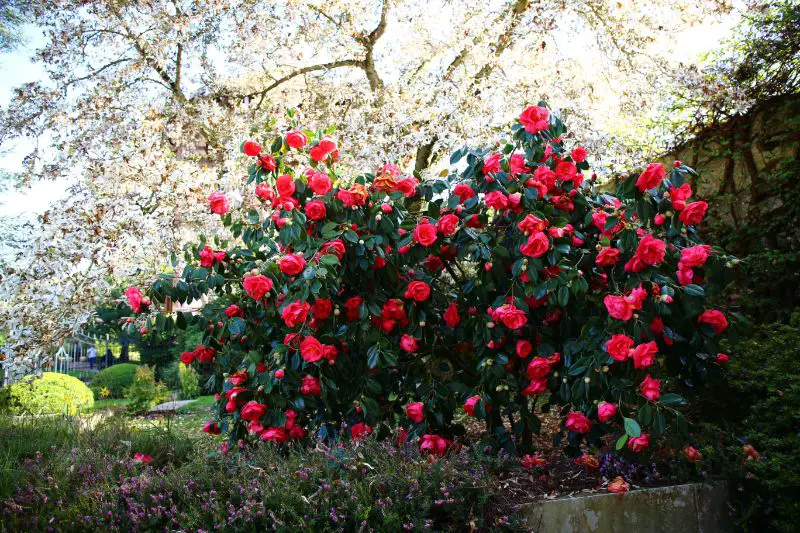
Are you a fan of camellias? These stunning flowers can add a touch of elegance and beauty to any garden or landscape. However, growing camellias can be a bit tricky, especially if you’re new to gardening. To help you achieve the most beautiful camellia blooms, we’ve compiled a list of five essential tips that every gardener should know.
First and foremost, camellias need sufficient sunlight to thrive. But how do you choose the right camellia for your hardiness zone? And what amendments should you add to the soil before planting? We’ll answer all of these questions and more in this article.
Additionally, we’ll discuss the importance of watering your camellia twice a week during the first year and why camellias don’t need a lot of fertilizer. By following these tips, you’ll be able to enjoy the most stunning camellia blooms in your garden.

1. Camellias Need Sufficient Sunlight
To achieve the most beautiful camellia blooms, it is important to provide sufficient sunlight while protecting the plant from the hot afternoon sun. Camellias thrive in morning sun and dappled afternoon shade. The ideal location for planting camellias would be where they receive direct sunlight in the morning but are shaded during the hottest hours of the day.
Camellias prefer partial shade with shelter from hot afternoon sun. Young plants especially need protection from direct sunlight during their early growth stages. It is also essential to note that mature plants still require shade as overheating can cause damage to foliage and inhibit blooming.
Another important factor in ensuring healthy growth and stunning blooms is by choosing a suitable soil type for camellias. A well-draining soil mixture that retains moisture, such as peat moss or pine bark, will encourage proper root growth and prevent waterlogging, which can lead to disease.
In conclusion, providing your camellia plants with a location that receives ample morning sunlight and partial afternoon shade will guarantee optimal growth leading up to beautiful blooms. Additionally, planting them in suitable soil types will ensure nutrient-rich soil for sustained healthy growth throughout their life cycle.
2. Choose A Camellia For Your Hardiness Zone
Camellia shrubs are a popular choice for those looking to add some color and beauty to their gardens. However, not all camellias are suitable for all climates. It’s important to choose a cultivar that is adapted to your hardiness zone to ensure the best chance of success.
Camellia shrubs thrive in Zones 7 to 10, with some cultivars able to handle cooler temperatures in Zone 6. In colder areas, it’s best to grow camellia plants in containers so they can be brought indoors during colder months. When choosing a camellia cultivar for your hardiness zone, look for ones that have been bred specifically for cold tolerance.
It’s also important to plant camellias near other acid-loving plants, such as azaleas and rhododendrons, as they prefer similar soil conditions with a pH between 5.0 and 6.5. When planting camellias in your garden, make sure they are at least 5 ft away from other plants to allow good air circulation and prevent overcrowding.
Whether you’re looking for a low-growing ground cover or a tall tree-form variety, there is a camellia cultivar suited for your hardiness zone. Some popular varieties include the sasanqua ‘Yuletide’ which has deep red flowers and thrives in Zones 7-10 and the japonica ‘April Kiss’ with pink blooms that can tolerate Zones 6-9.
By choosing the right camellia cultivar for your hardiness zone and planting them properly alongside other acid-loving plants, you’ll be sure to enjoy beautiful blooms year after year.

3. Add Amendments To Before Planting Your Camellia
One of the important factors to consider when planting camellias is the soil. Camellias prefer fertile soils that stay moist but also drain well to avoid waterlogging. The best materials for planting camellias include peat, loam, and clay soils. It’s recommended to amend clay soil with organic matter to improve moisture retention and drainage.
Another important factor for camellia growth is soil pH levels. They prefer a slightly acidic soil, with a pH level between 5.5 and 6.5. When amending garden soil, it’s best to add compost or composted manure to improve soil structure and drainage.
To ensure a healthy growth rate after planting camellias you have fertilize them adequately prior planting time as well as early spring before flowering blooms appear in your garden bed area around your Camellia plant where they receive plenty of indirect light access but not too much direct sun exposure as this may scorch its foliage which could degrade the look of its blooming flowers.
In conclusion, amending the soil with organic matter is essential when growing healthy camellias from seeds or cuttings because they need fertile soils that retain moisture but also drain well too avoid any root system rot that may inhibit their proper growth due waterlogged roots which will affect the beauty of future blooms year round making sure excesses of nutrients are avoided, watering weekly (as needed) and providing good drainage will provide you maximal success rates in achieving an ideal growing environment for your Camellia plants.

4. Water Your Camellia Twice A Week For The First Year
One essential way to ensure the most beautiful camellia blooms is by giving your plants the right amount of water. Camellias should be watered twice a week for the first year of growth. During each watering, give your plants a deep soak, making sure that the soil is moist but not soggy.
To determine if it’s time to water your camellias, check the dryness of the soil. It’s recommended to test for dryness several inches down in the soil. As a general rule, never let your camellias dry out completely, as this can cause damage to their roots and slow growth.
Using timed irrigation systems can help make watering your camellias easier and consistent. It’s important to note that while camellias prefer moist soil, they don’t like being in constant wet conditions, which can lead to root rot and other diseases.
In addition to providing proper hydration through watering frequency and deep soaks, you can also improve plant health by fertilizing regularly and pruning dead or damaged growth. With consistent care and attention, you’ll soon see healthy green foliage and stunning blooms on your camellia plants year after year.
5. Camellias Don’t Need A Lot Of Fertilizer
Maintaining healthy camellia plants requires proper fertilizer application. Camellias do not require a lot of fertilizer, but it is important to apply it correctly to ensure the most beautiful blooms. When choosing a fertilizer, avoid those that are high in nitrogen since they can cause leaves to yellow and fall off.
Choose a slow-release fertilizer with an NPK value of 12-4-8 or 16-4-8 for optimal growth. Spread 1/2 to one pound of 8-8-8 or 10-10-10 slow-release fertilizer over the soil within the root zone, typically at least as far as the widest branch’s drip line. It is essential to pull back any mulch before fertilizing camellias to prevent runoff and ensure proper absorption.
To ensure healthy plants and ideal bloom performance, check your soil pH between 6.0 – 6.5 using a pH tester before fertilizing Camellia japonica varieties that thrive best in acidic soils (lower pH). For practical reasons, use only water-soluble or liquid fertilizers applied more frequently.
Applying too much of anything isn’t good for anyone – likewise with nutrients: only apply fertilizer according to instructions on the label.” The right amount of well-balanced nutrition will promote lush foliage growth while helping deliver beautiful flowers throughout their growing period without adequate feeding causing your plant dissatisfaction with shedding leaves or hindered blossom development.